Re: Finally...
Posted: Tue Jul 07, 2015 1:31 pm
It’s been awhile since I’ve posted anything but thought I’d share a mod I’ve wanted to do since I purchased this car back in ’92. While I always wanted fog lights, I didn’t want to just add them anywhere – I wanted the look of the ZO4 set-up. There was always the option of just installing the ZO4’s where they should be, but I wasn’t crazy about the “open space” that the base bumper gives with the OEM fogs and turn signal lamps. So I gave up on the idea.
Umpteen years go by and I see a pic on here of what another member did to his base bumper to add the ZO4 set-up. So, a huge shout out goes to Amateur for giving me the idea to run with and make this a reality for me.
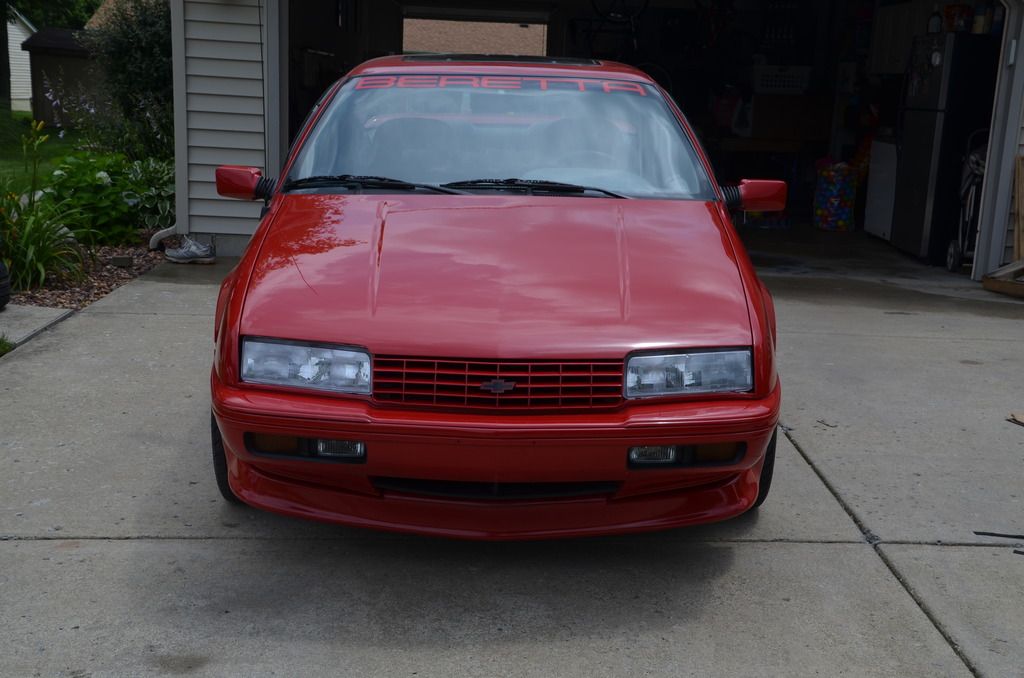
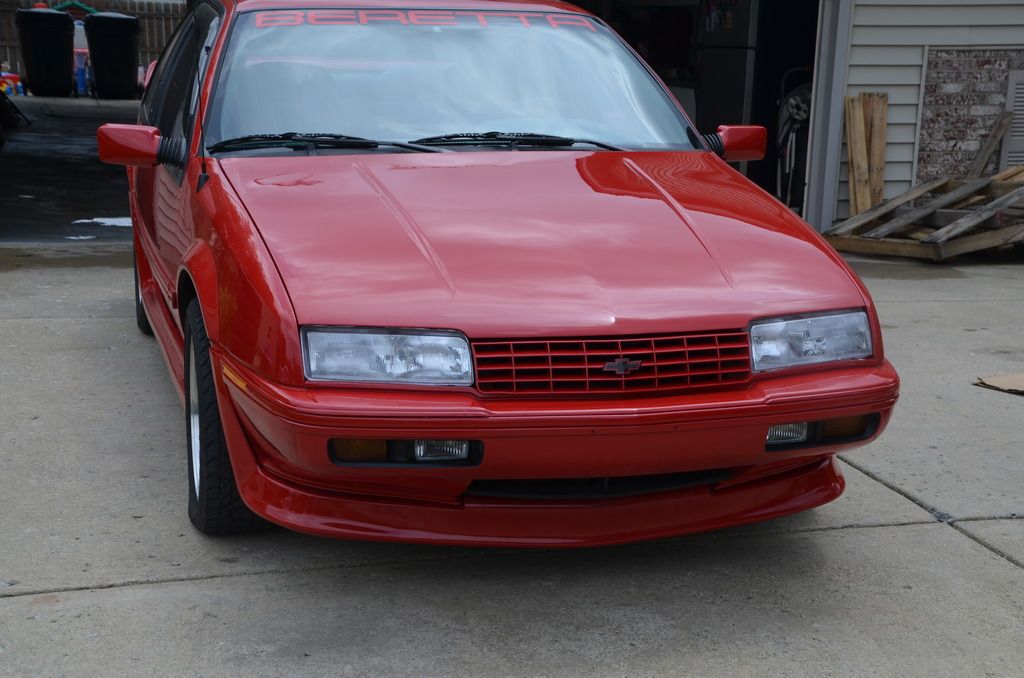
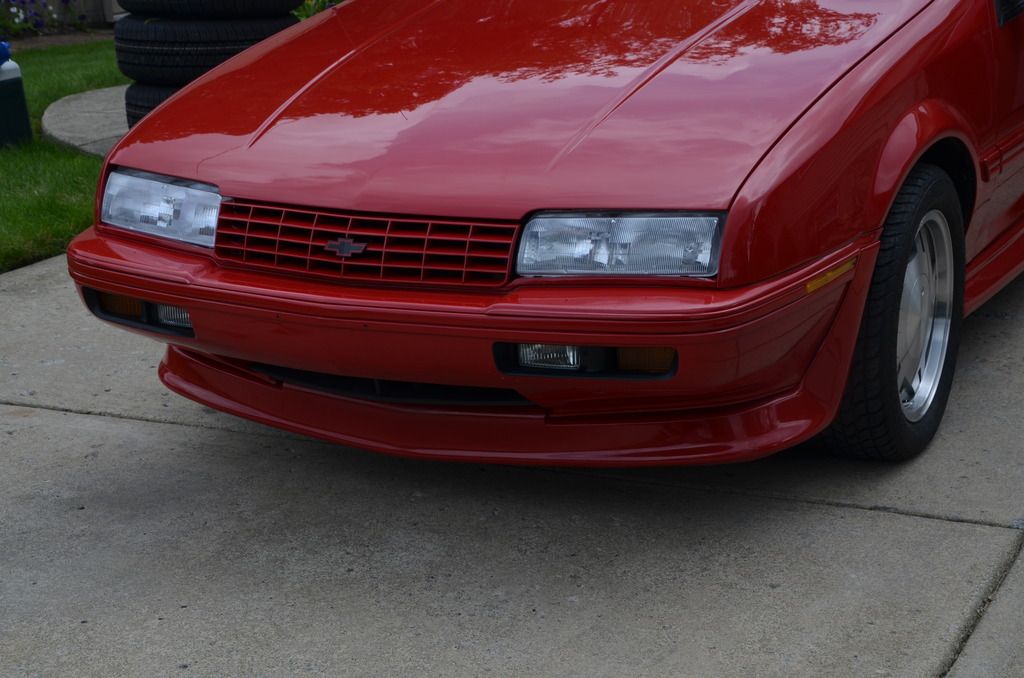
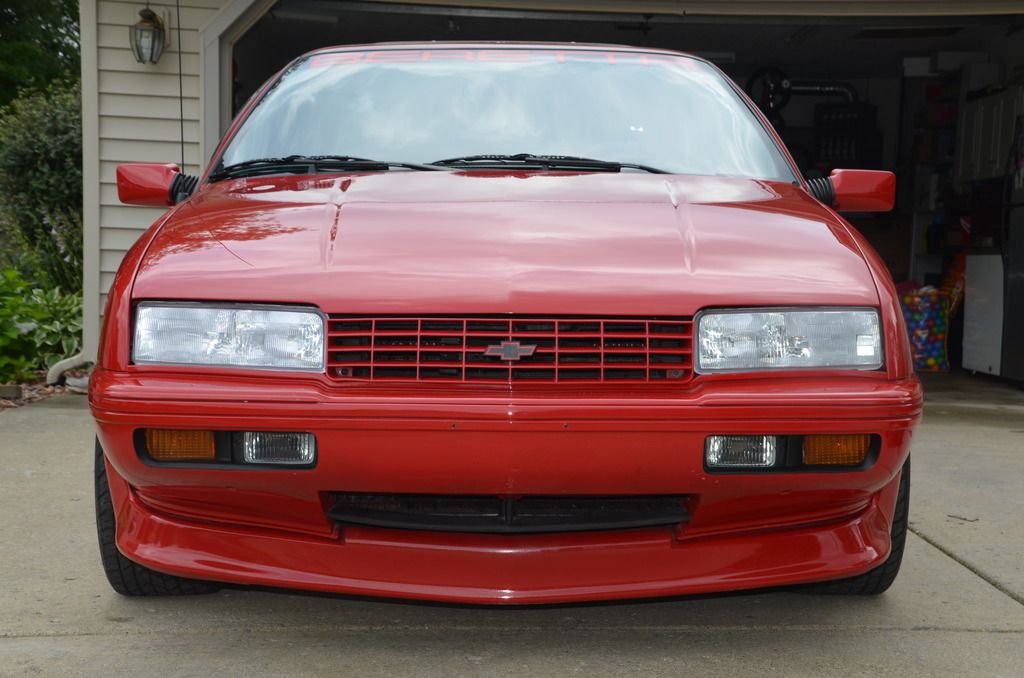
There were a lot of obstacles to overcome for me to get them to my liking. But in the end, I got them to where the ZO4 inserts are seamless with the base bumper. Didn’t realize it until I dug in that the base bumper opening is larger – larger enough to make this a project and a half. I only had 1 “Z” donor bumper to work from, so the cutting was in millimeters and very meticulous. They are held in with a permanent epoxy so there’s no hardware showing!
I wanted it to look “factory” like it should be there. While I’m not 100%, I’d bet money that from the factory these inlays were painted a flat black. The ones on the donor bumper were painted the same color as the bumper itself, so my guess is the bumper was repainted at one time. Regardless, I’m glad I chose to go with flat black, I’m happy with how it turned out. My only gripe is that being careless with my bumper during the process caused some scrapes and chips that I need to repair.
Umpteen years go by and I see a pic on here of what another member did to his base bumper to add the ZO4 set-up. So, a huge shout out goes to Amateur for giving me the idea to run with and make this a reality for me.


There were a lot of obstacles to overcome for me to get them to my liking. But in the end, I got them to where the ZO4 inserts are seamless with the base bumper. Didn’t realize it until I dug in that the base bumper opening is larger – larger enough to make this a project and a half. I only had 1 “Z” donor bumper to work from, so the cutting was in millimeters and very meticulous. They are held in with a permanent epoxy so there’s no hardware showing!
I wanted it to look “factory” like it should be there. While I’m not 100%, I’d bet money that from the factory these inlays were painted a flat black. The ones on the donor bumper were painted the same color as the bumper itself, so my guess is the bumper was repainted at one time. Regardless, I’m glad I chose to go with flat black, I’m happy with how it turned out. My only gripe is that being careless with my bumper during the process caused some scrapes and chips that I need to repair.