Page 68 of 92
Re: 1996 Mr.Pink
Posted: Mon Apr 13, 2015 3:13 pm
by 3X00-Modified
I don't think I'm quite there yet... But I have thought, If I do this what will break first... LOL Mostly referring to the direct port nitrous system...
Re: 1996 Mr.Pink
Posted: Mon Apr 13, 2015 3:31 pm
by Money pit Beretta
Oh yes, that would be much worse. I've been lucky and never had to think about that. Can't afford boost and NOS is always been out for me. But you know that.
Re: 1996 Mr.Pink
Posted: Tue Apr 14, 2015 10:28 am
by 3X00-Modified
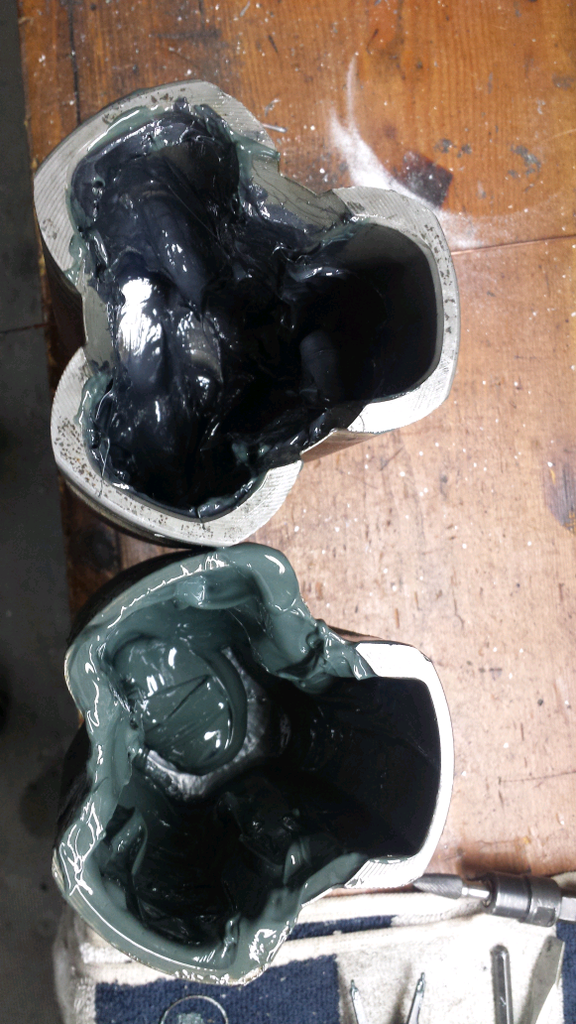
SO yeah things never work the first time... I should have thought of this but when I did the outer CV's for N-body brakes the whole outer assembly was swapped onto my axle shaft... This time I only had the inner output stub for the 60e-HD and it didn't come with the tripod inner parts. Come to find out the Beretta parts, or the ones used on this axle do not fit into the larger splined output stub needed for the 60e-HD diff.
Hopefully Jeff from EP has one of these tripod's that he can send to me so I can get this axle back together.
Beretta output stub on the bottom.. you can see the difference.
Re: 1996 Mr.Pink
Posted: Tue Apr 14, 2015 5:01 pm
by ifixalot
If he doesn't have one I might be able to help. I have an extra 4t60e trans with the cup sticking out one side.
I assume that is what you need and it pops out without too much trouble?
I can't imagine I'd ever need it.
Re: 1996 Mr.Pink
Posted: Tue Apr 14, 2015 5:11 pm
by 3X00-Modified
No the cup is specific to the 60e-HD I have many 60e cups. What I need is the tripod rollers that go on the axle in this 60e-HD cup since they are smaller than the 60e ones.
Re: 1996 Mr.Pink
Posted: Thu Apr 16, 2015 9:00 am
by 3X00-Modified
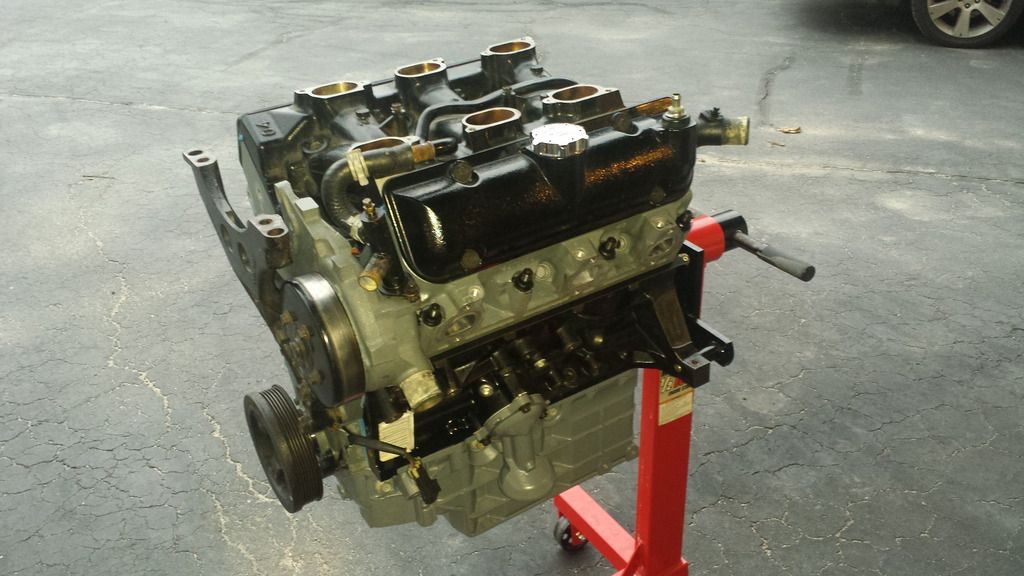
Slow and steady wins the race... LOL
Got it out of the basement rather easily... Fit through the doors and was able to lift it up and out of the side door with ease.
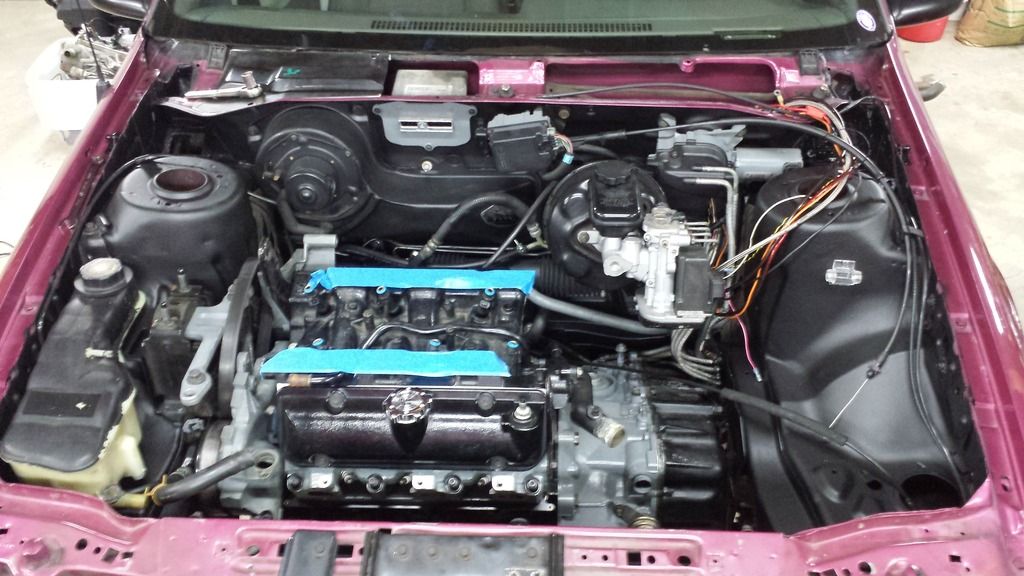
And it's made it's way back into the car... SO much room doing this with no wiring harness in the car... I may just pull that every time to make this job easier.
Re: 1996 Mr.Pink
Posted: Thu Apr 16, 2015 9:18 am
by Red_Bra_Black_GTZ
How exactly did u get it out, I have tried to carry a quad engine, 2 of us failed.
Re: 1996 Mr.Pink
Posted: Thu Apr 16, 2015 9:32 am
by 3X00-Modified
My basement is only 6"-8" below ground level so I rolled the stand all the way to that exit door and the lifted the front of the motor to get the wheels of the stand up and on the driveway pavement, and then I went around and in the house trough the front door and then lifted the back of the motor up and to ground level, so in reality I wasn't lifting the whole thing at one time. My bigger concern was fitting the stand through the two door frames in the basement but I lucked out by about 1/4 inch.
Re: 1996 Mr.Pink
Posted: Thu Apr 16, 2015 9:48 am
by Red_Bra_Black_GTZ
Ing at its best!!!!
Re: 1996 Mr.Pink
Posted: Tue Apr 21, 2015 9:32 am
by 3X00-Modified
Other updates Drive line in
Headers on for looks...
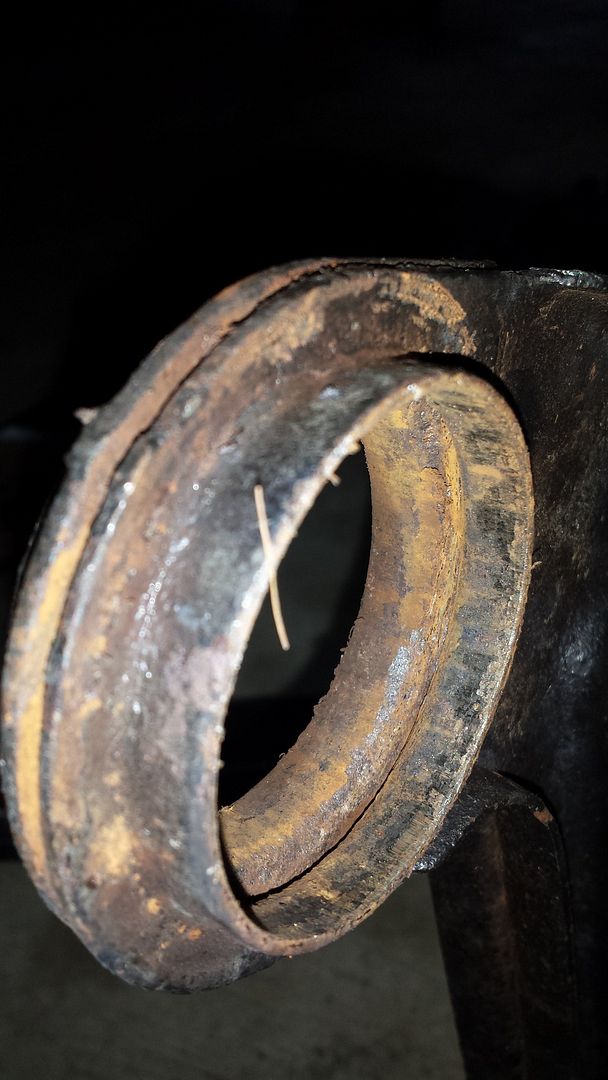
And wear I found on my old tripod from my axles...
I love doing things twice so with that being said... I installed all the suspension components so I could set the car at ride height and measure axle lengths...
I will be re-moving the suspension again tonight to clean it up and prep for new rear bushings. I'm hoping the axle length I need and parts necessary will have some combo out there and not require a custom length shaft but if it does, I'll just swap the stock diff back in and run what I had in there last year for axle lengths till I can get the new ones... And worse case I drive it to MS like that and just don't drag race. Very disappointing about that, but I guess that's what I get for being the only one to try this crap...
Re: 1996 Mr.Pink
Posted: Tue Apr 21, 2015 9:23 pm
by 3X00-Modified
Well I cleaned up the subframes and then attempted to remove the rear bushings.. One came out just fine... The second one which was the older control arm started to separate and drop rust everywhere... GAHHHHHHHHHH more money down the hole.
Just ordered 2 AC Delco control arms fully loaded and a new prothane bushing set... I will evaluate which way I go when it all arrives... I may still use the newer MOOG style rear bushings and press out the brand new Delco ones and I know for a fact that I will remove the front bushings and install the poly versions of those. I guess one good thing was I was thinking about doing ball joints and I don't have to now since it comes with them

Re: 1996 Mr.Pink
Posted: Wed Apr 22, 2015 7:46 am
by 3X00-Modified
Pics of the control arms to compare the age...
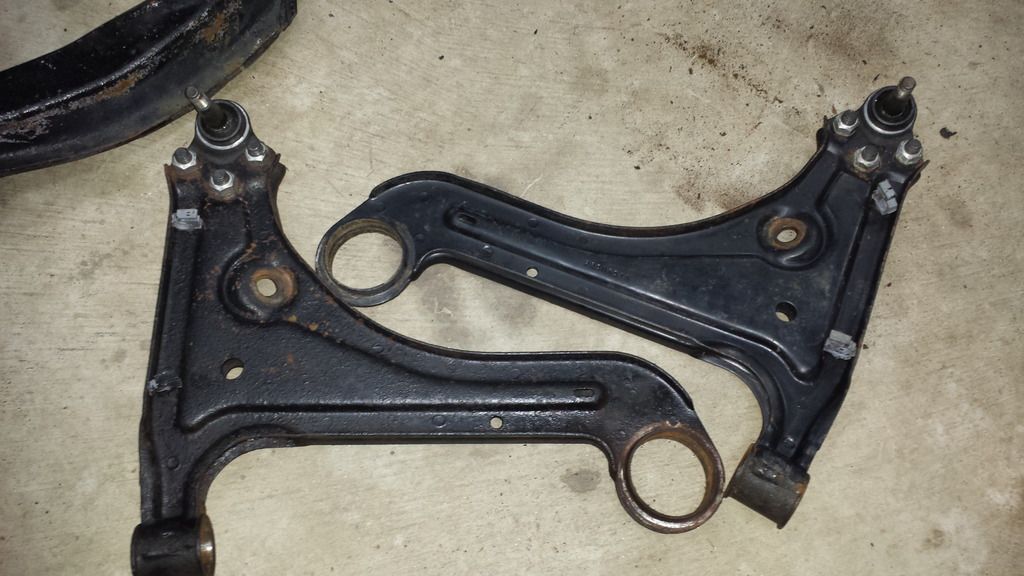
and the one that started to fall apart pretty badly... And yes I will probably weld up the new ones if I feel like I have time to do that.

Re: 1996 Mr.Pink
Posted: Wed Apr 22, 2015 9:41 am
by ifixalot
Isn't rust just lovely?
Re: 1996 Mr.Pink
Posted: Wed Apr 22, 2015 9:45 am
by 3X00-Modified
Yeah gotta love it... This is a 94 control arm that I had pulled from a parts car years ago... It was in good shape compared to the 96 stuff that came in my car and the drivers side one was brand new as you can see in the comparison photo... but seeing how I never did the bushings or blasted them before paint then garbage between the control arms made things worse and now I feel they are just too weak to re-use. At least the one.
Still looking for a nice rust free set of sub frames if anyone wants to find me a set from down south. Once again the passenger side one I have is in really good shape but the drivers side for some reason is a little worse off. Neither are un-usable tho.
Re: 1996 Mr.Pink
Posted: Wed Apr 22, 2015 5:29 pm
by woody90gtz
Sorry Jon I scrapped the NY control arms and subframes off of my 95...haha
That one is definitely ugly. I couldn't believe how bad the driver side one was on the 95Z when I dismantled it...way worse than I realized. Huge crack where the swaybar endlink mounted.